



What are the steps to make a homemade manual ethanol burner?
Jul 08, 2025
Leave a message
Hey there, fellow DIY enthusiasts! Today, I'm stoked to share with you the step - by - step process of making a homemade manual ethanol burner. As a manual ethanol burner supplier, I've seen firsthand the appeal of these nifty devices, and I think you'll love making your own.
Why Make a Homemade Manual Ethanol Burner?
First off, let's talk about why you might want to make your own manual ethanol burner. For starters, it's a cost - effective alternative to buying one. You can source the materials relatively cheaply, and it's a fun project to take on. Plus, you get the satisfaction of creating something with your own two hands.
Another great thing about homemade ethanol burners is their versatility. You can use them for various purposes, like a little indoor heater on a cold day, or as a unique centerpiece for your outdoor gatherings. And let's not forget about the environmental aspect. Ethanol is a relatively clean - burning fuel, which is way better for the planet compared to some other options.
Materials You'll Need
Before we dive into the steps, let's go over the materials you'll need to gather.
- Metal Container: You can use a small, sturdy metal can. A tuna can or a coffee can works great. Make sure it's clean and free of any residue.
- Wick Material: Cotton rope or a strip of cotton fabric can serve as a wick. The wick is what will draw the ethanol up and allow it to burn.
- Ethanol: You can find denatured ethanol at most hardware stores. It's important to use denatured ethanol, as it's formulated for burning and is less likely to produce harmful fumes.
- Drill or Pliers: You'll need a drill to make holes in the metal container or pliers to create a small opening.
- Safety Equipment: Don't forget safety goggles and heat - resistant gloves. Safety first, folks!
Step 1: Prepare the Metal Container
The first step is to prepare your metal container. If you're using a drill, make a few small holes near the top of the can. These holes will allow air to enter the can and help the ethanol burn more efficiently. If you don't have a drill, you can use pliers to gently create small openings. Just be careful not to damage the can too much.
Once you've made the holes, give the can a good wash with soap and water to remove any dirt or debris. Dry it thoroughly before moving on to the next step.
Step 2: Insert the Wick
Now it's time to insert the wick. Cut a length of cotton rope or fabric strip that is long enough to reach from the bottom of the can to the top. You want it to be loose enough to move freely but not so long that it hangs over the edge of the can.
Insert one end of the wick through one of the holes you made earlier and then thread it down to the bottom of the can. Make sure the wick is centered in the can. You can use a small piece of wire or a paperclip to help guide the wick if needed.
Step 3: Add Ethanol
Once the wick is in place, it's time to add the ethanol. Slowly pour the ethanol into the can, being careful not to spill it. Fill the can about three - quarters full. You don't want to overfill it, as this could cause the ethanol to spill out when the burner is in use.
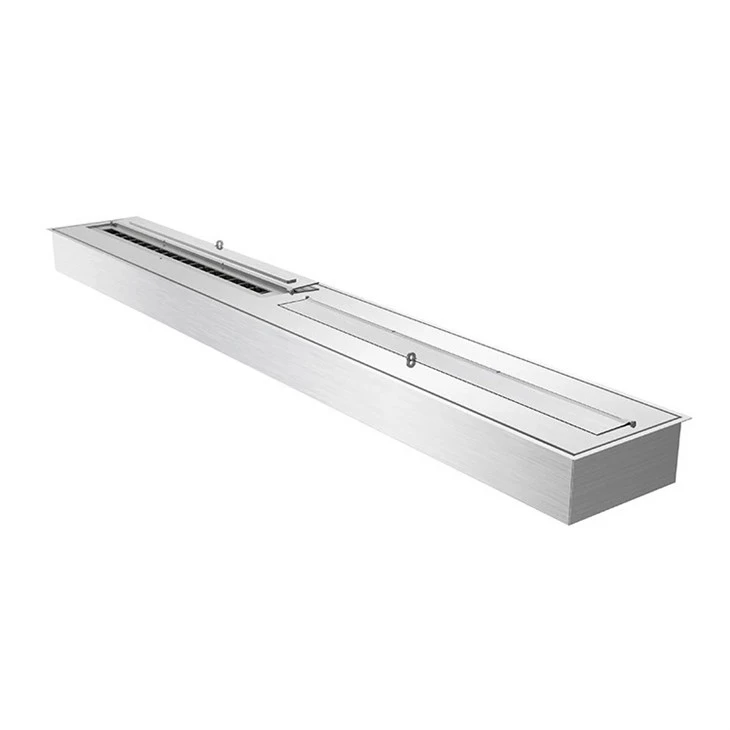

After you've added the ethanol, let the wick soak up the fuel for a few minutes. This will ensure that the wick is saturated and ready to burn.
Step 4: Test the Burner
Before you start using your homemade manual ethanol burner, it's important to test it in a safe, well - ventilated area. Light the end of the wick using a long - handled lighter or a match. You should see a steady flame within a few seconds.
If the flame is too small or goes out quickly, it could mean that the wick isn't saturated enough. You can add a little more ethanol and let the wick soak again. If the flame is too large or unsteady, you may need to adjust the amount of air entering the can by covering or uncovering some of the holes.
Step 5: Use and Maintain Your Burner
Once you're satisfied with the test, you're ready to use your burner. Place it on a heat - resistant surface, away from any flammable materials. You can use it indoors or outdoors, but make sure there's plenty of ventilation.
To maintain your burner, you'll need to refill the ethanol when it runs low. You can also trim the wick occasionally to keep the flame at a consistent size.
Our Products
Now, if you're not really into the DIY thing or you want a more professional - looking option, we've got you covered. We're a manual ethanol burner supplier, and we offer a wide range of products. Check out our manual ethanol burner alcohol fireplace. It's a great addition to any home, providing a warm and cozy atmosphere.
For those who love outdoor gatherings, our Outdoor Bio Ethanol Fireplace is a must - have. It's designed to withstand the elements and will keep your guests warm on cool evenings.
And if you're looking for something a bit more unique for your outdoor space, take a look at our outdoor ethanol fireplace. It's a stylish and functional way to add some charm to your patio or backyard.
Contact Us for Purchasing
If you're interested in any of our products or have any questions, we'd love to hear from you. We're always happy to assist with your purchase and provide you with all the information you need. Whether you're a homeowner looking to add a touch of warmth to your space or a business owner in need of multiple units, we've got the right solution for you.
References
- "The Basics of Ethanol Burners" - DIY Home Magazine
- "Safe Use of Ethanol as a Fuel" - Environmental Protection Agency
- "Building Your Own Ethanol Burner" - Popular Mechanics
Send Inquiry